


Here is another set of canvases I've created, with a tutorial!
Most of these things can be purchased from the Flying Unicorn store - I received most of the product used in past monthly kits from the Flying Unicorn. :)
The tutorial starts... now!
 |
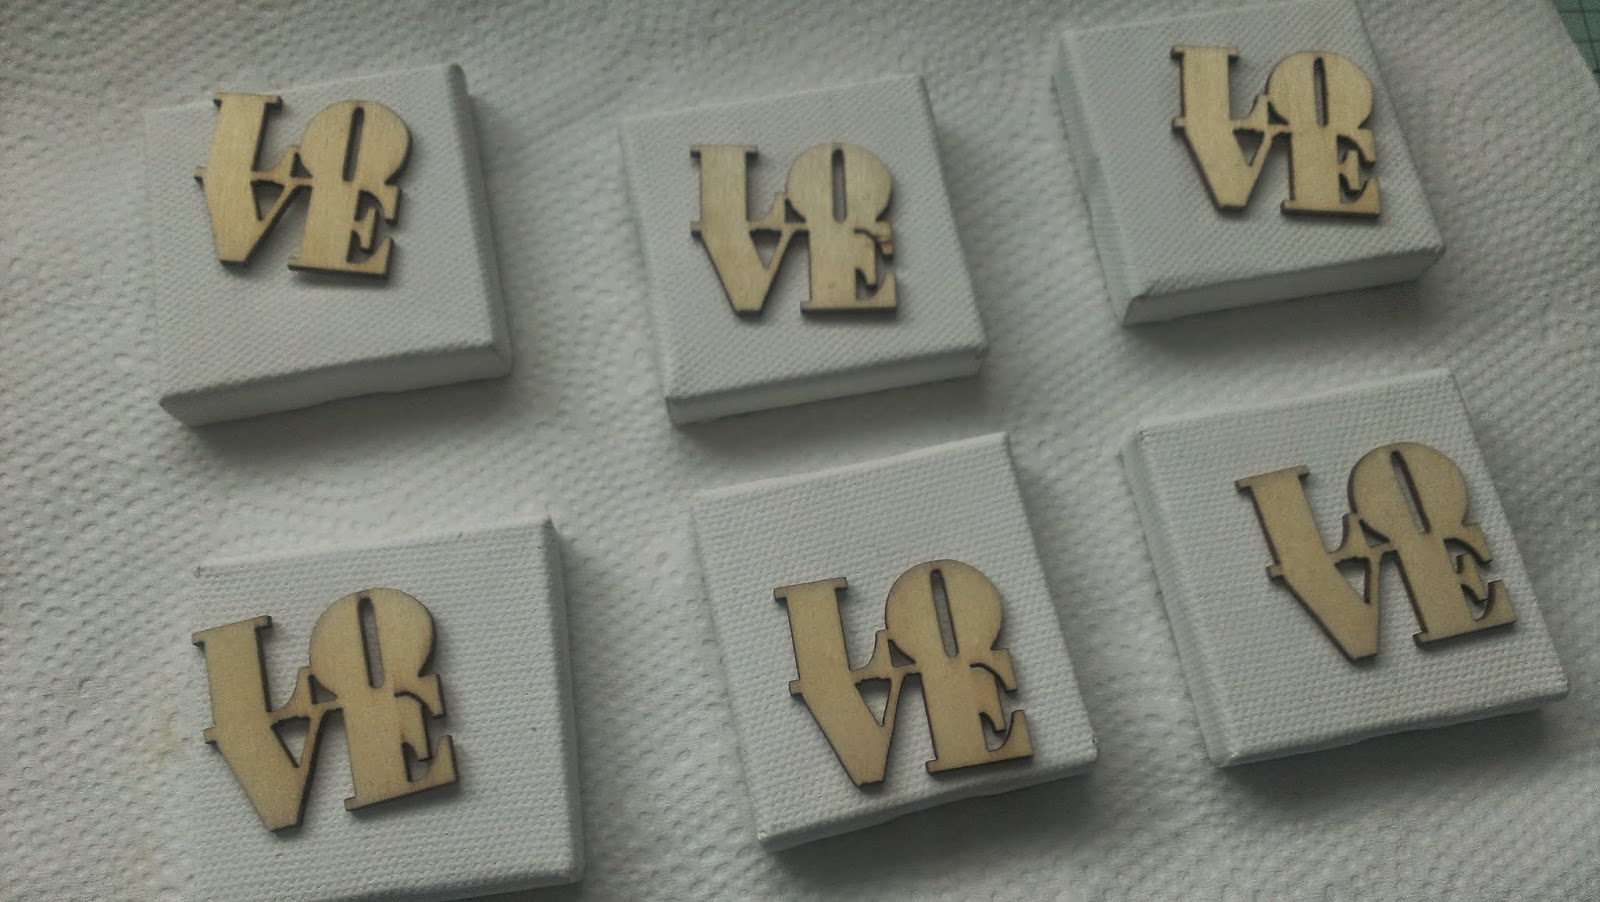
| This is where I started - A 6-pack of 2" x 2" canvases! |


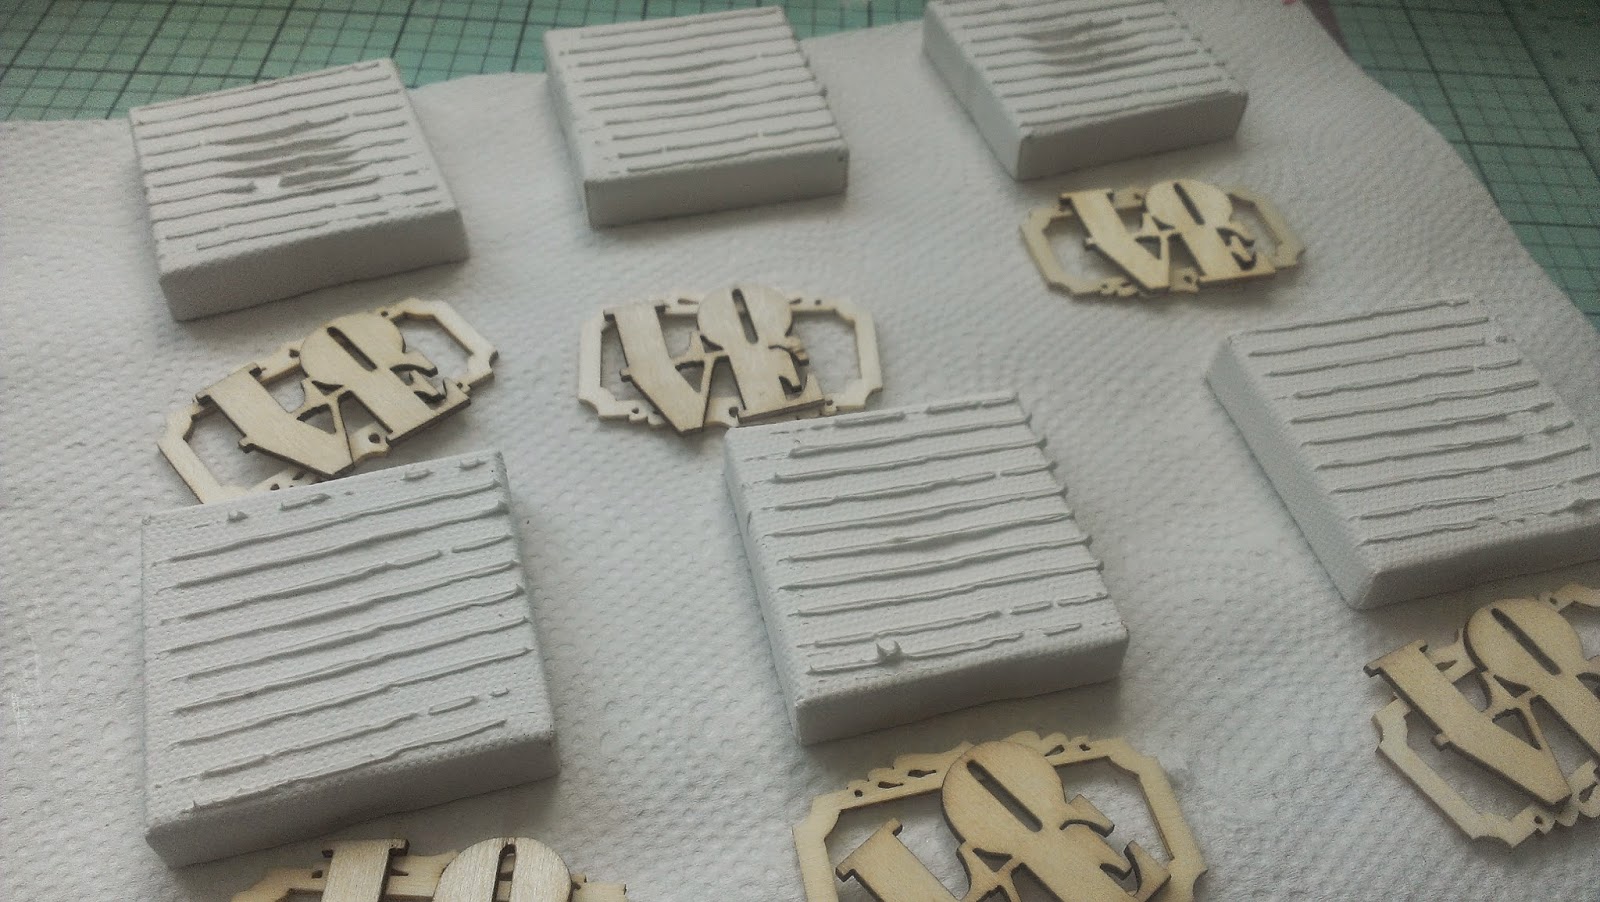 |
| Here I used my 13arts stencil that I can't get enough of to create a lined background on the canvas to add texture! |
 |
| I gesso'd each wooden icon individually since I wasn't exactly sure the route I was taking for these canvases. |


Here I sprayed all the canvases and wooden icon pieces with the "I'm late slate" Lindy's spray. I just kept adding layers, until I ran out of the spray. So happy to call it done!
 |
| In this pic, I 'm not sure how well it will show on different people's screens, but I did use this PanPastel cake thingie to add much shimmer to the canvas. |
 |
| More colour & shine was needed, so I added some of the BoBunny copper glitter paste to the canvas, frames and the edges of the word LOVE. |


After adding the BoBunny paste, I used my 13arts spray on some cheesecloth. Then I layered the cheesecloth on the canvas under the frame and the word love, and then sprayed the canvases each with one spritz of the 13arts spray.
 |
| The canvases looked lacking in glimmer, so I went over each canvas again with the PanPastel cake thingie! |
 |
| This is the final result. As you can see, I added two tiny rosebuds and added the BoBunny glitter paste to those as well. :) |

Thank you so much for stopping by!
I love getting feedback on my work & my tutorials, so feel free to leave a comment or question!
Krafty Kerry signing off!


lovely idea and such a sweet little handmade gift for my friends.Love to try this idea Kerry.
ReplyDeleteI so love these.. thanks for sharing them
ReplyDelete