Copyright © Kerry's Cool Creations
Design by Dzignine
Showing posts with label Embellishment. Show all posts
Friday, 13 February 2015

Mini Mixed Media Canvases Again! Set of 6! Tutorial Inside (Lots of Pics!)

My love for mixed media is really coming loose these days.  I'm loving being able to use what I have and make wonderfully pretty things! I have So. Many. Things. so it's seriously nice to go through my stash and use things up as I find them!

Here is another set of canvases I've created, with a tutorial!

Most of these things can be purchased from the Flying Unicorn store - I received most of the product used in past monthly kits from the Flying Unicorn. :)

The tutorial starts... now!

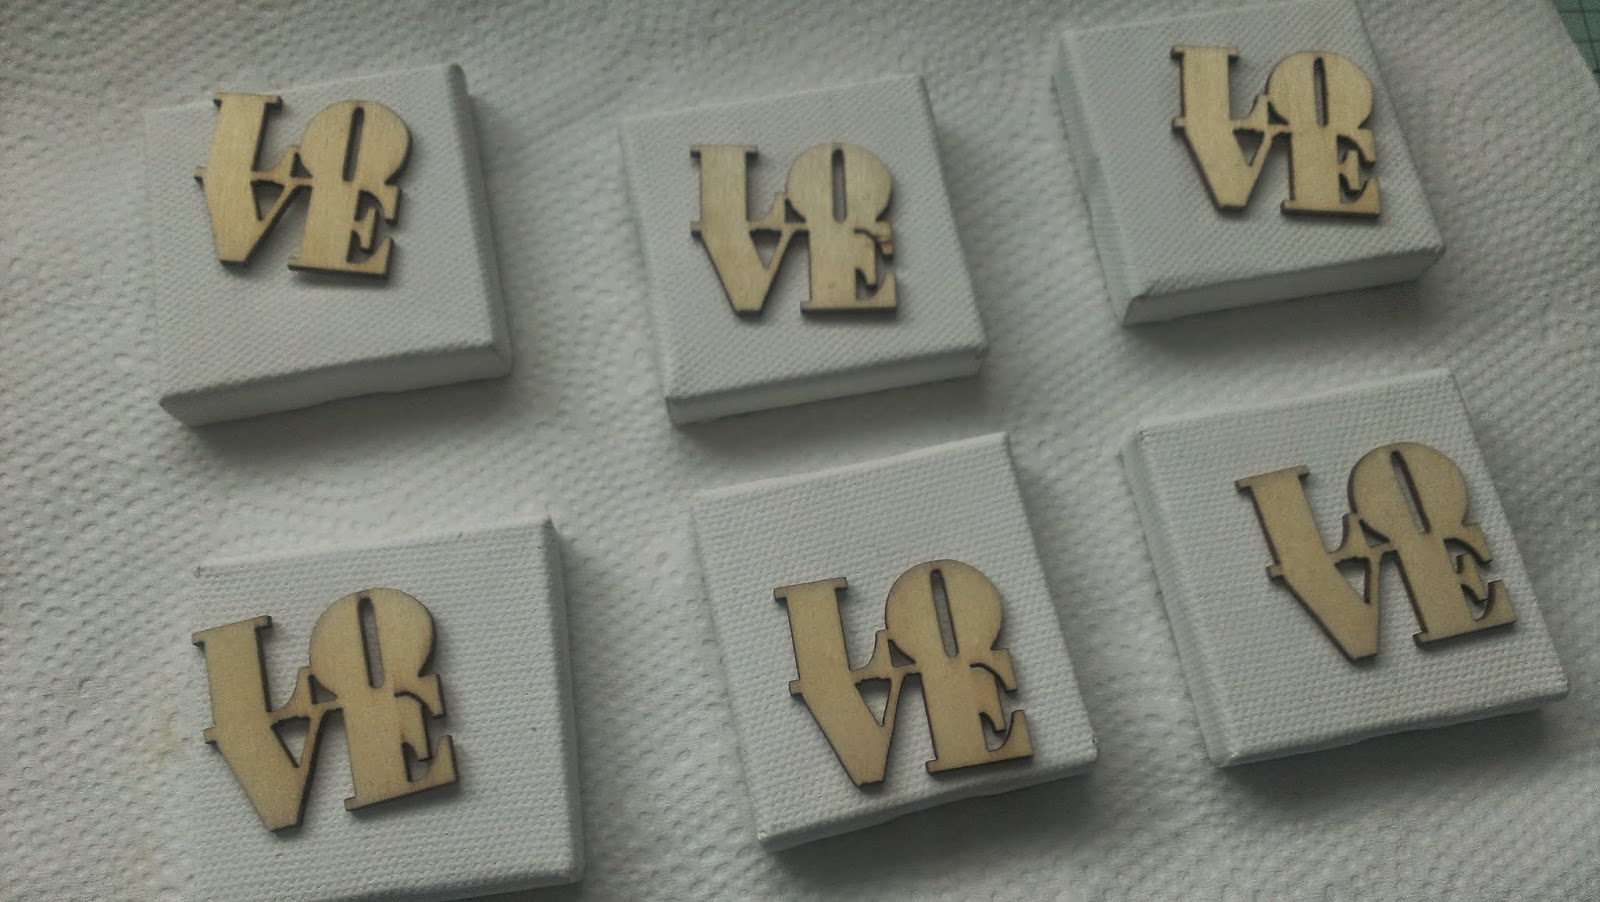
This is where I started  - A 6-pack of 2" x 2" canvases!


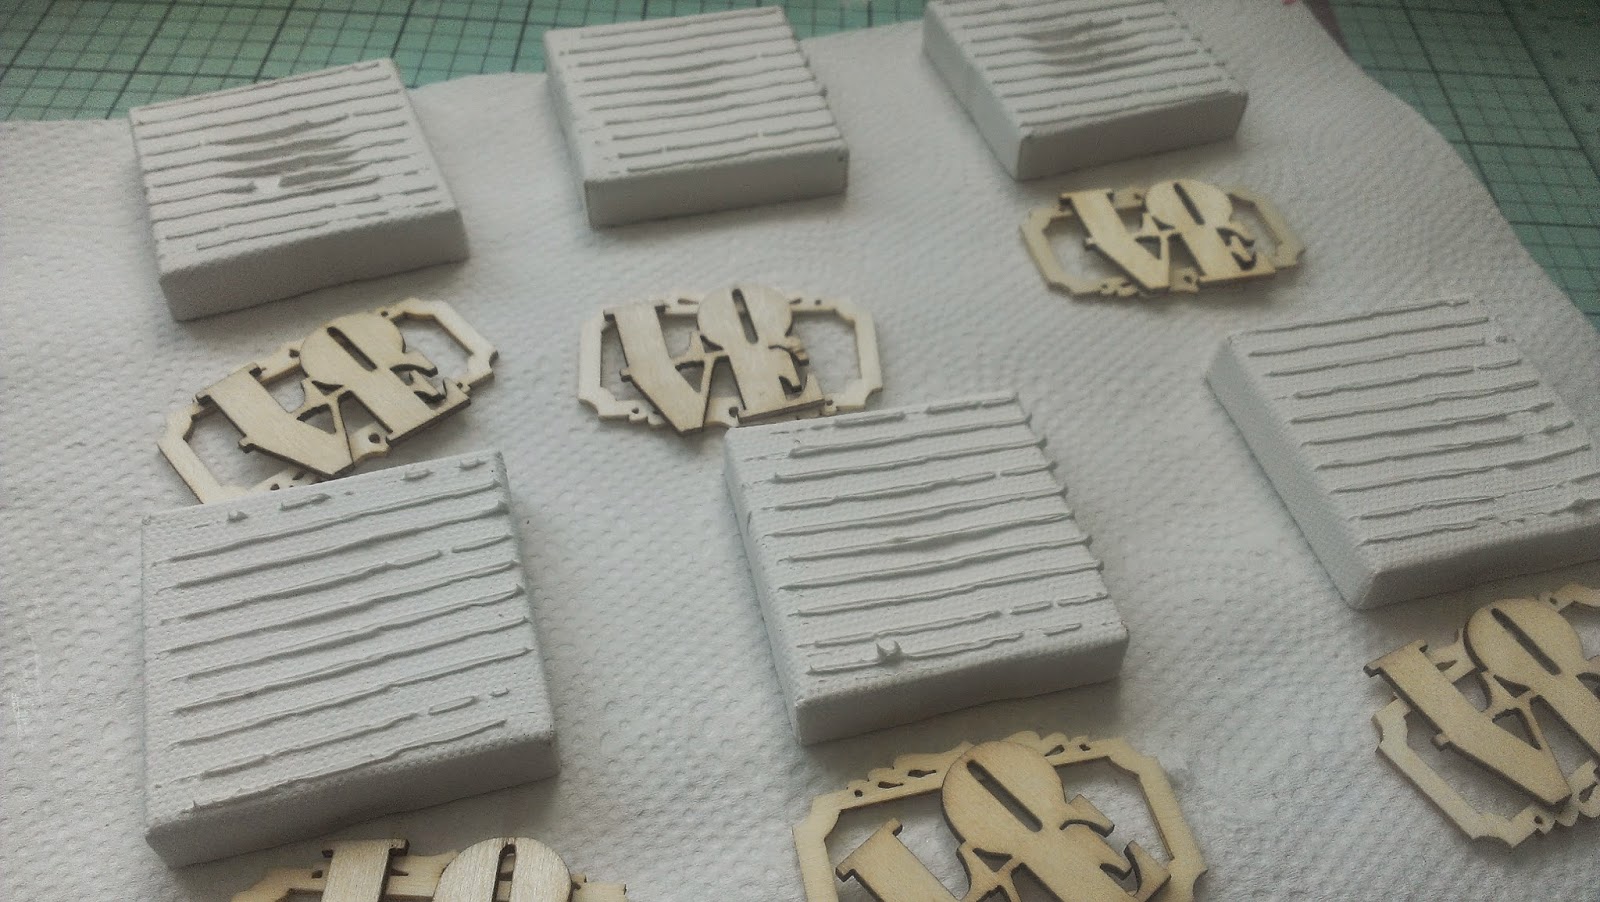
Here, you can see that I've used two packs of Prima wooden icons from two different collections. I thought it appropriate when I spotted the "LOVE" icons for these canvases!!  I added the frame to add more depth.

Here I used my 13arts stencil that I can't get enough of to create a lined background on the canvas to add  texture!
I gesso'd each wooden icon individually since I wasn't exactly sure the route I was taking for these canvases.


Here I sprayed all the canvases and wooden icon pieces with the "I'm late slate" Lindy's spray. I just kept adding layers, until I ran out of the spray. So happy to call it done!

In this pic, I 'm not sure how well it will show on different people's screens, but I did use this PanPastel cake thingie to add much shimmer to the canvas.
More colour & shine  was needed, so I added some of the BoBunny copper glitter paste  to the canvas, frames and the edges of the word LOVE.
After adding the BoBunny paste, I used my 13arts spray on some cheesecloth. Then I layered the cheesecloth on the canvas under the frame and the word love, and then sprayed the canvases each with one spritz of the 13arts spray.

The canvases looked lacking in glimmer, so I went over each canvas again with the PanPastel cake thingie! 

This is the final result. As you can see, I added two tiny rosebuds and added the BoBunny glitter paste to those as well.  :)


Thank you so much for stopping by!

I love getting feedback on my work & my tutorials, so feel free to leave a comment or question!

Krafty Kerry signing off!
Thursday, 11 December 2014

Graphic 45 3x3 notecard sets with coordinating boxes

It's been a long while since I've done a project share just because I completed a project, but here is one for you!!

This project is actually two projects that consist of two similar card sets with coordinating boxes & envelopes, made for a swap which I'm a part of this holiday season.

There are 6 - 3x3 notecards, 2 sets of 3 and they are shown below:


The collection I used for this notecard set is called 'Twas the Night Before Christmas from Graphic 45.

I cut the stars and snowflakes out using my Silhouette Cameo, and the frames behind the snowflakes were cut from my Cricut Create; Fancy Frames cartridge.

The coordinating boxes were made using my WRMK envelope punch board, following the Youtube tutorial found here: Make a Box with the Envelope Punch Board with Deb Valder.
I decorated the boxes to look like presents and added a piece of chipboard to the front of each one.

I also made some envelopes to go with the notecards and those are included with the sets. :)

Hopefully this got your mojo going, even if it's just a little bit.

Thanks for dropping by!

Krafty Kerry signing off!
Thursday, 24 July 2014

Tube Thursday, Second Edition

Today, I would like to share with you a video that is actually a tutorial. :)

The last couple videos have been about completed projects, so I thought I would share a video showing how to make your own wire seed bead flower embellishments.

For reasons beyond my knowledge, Youtube/Blogger is not allowing me to embed this video into my blog post (probably a setting set by the video owner), however the video is definitely live and accessible!

CLICK HERE TO SEE THE VIDEO


Jen goes through quite a bit of detail showing you what kind of beads to use, what kind of wire to use, how to string the beads and even how to add a crystal center in the middle of it!

Thank you, Jen, for sharing your process with us!!

Hope you were inspired by the process video and will try to make your own too! It's always a great feeling of knowing you're making your own custom design at a fraction of the cost of buying it pre-made!

Krafty Kerry signing off!